
Third Class Assignment for Altenew Education Certification Program
Making the most of your craft stash is so important. The Celebration Stencil Techniques class teaches creative ways to maximize your products using die cuts, made from heavy cardstock, as stencils!
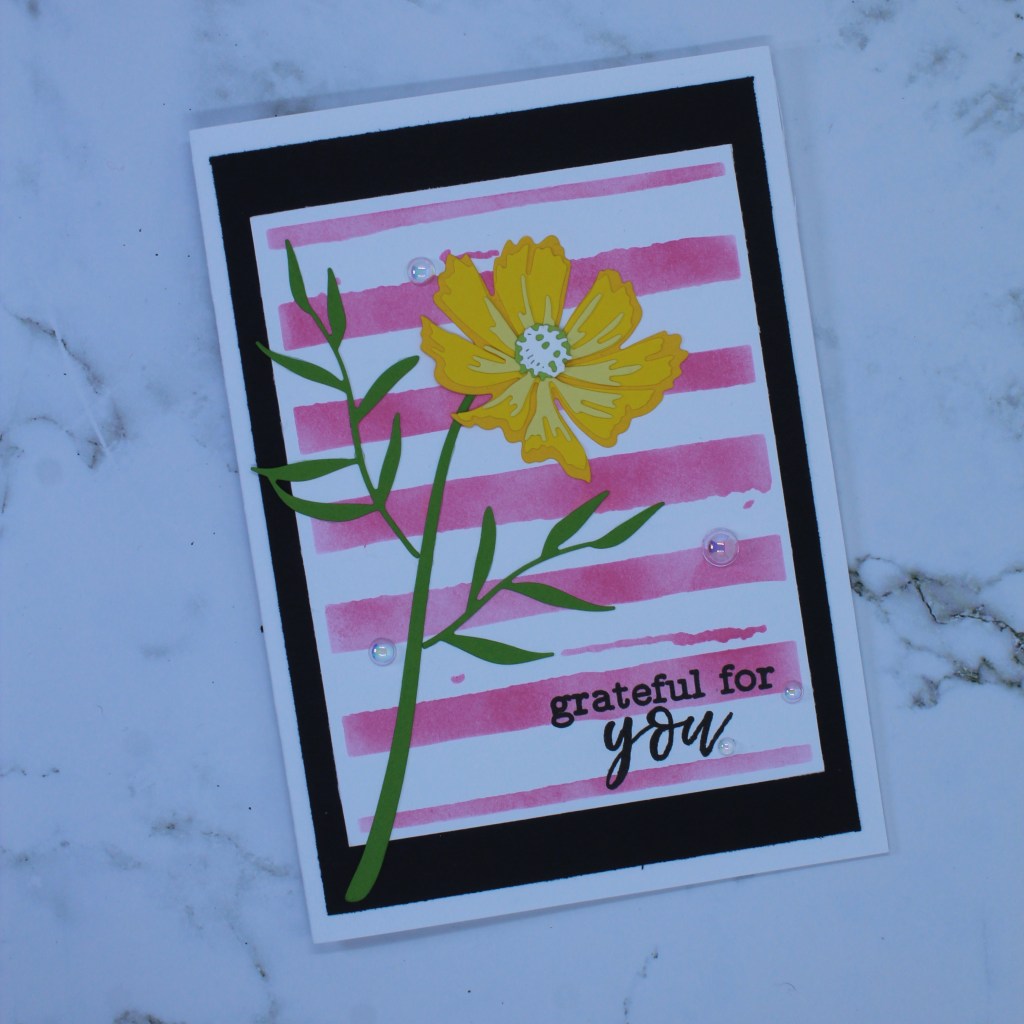
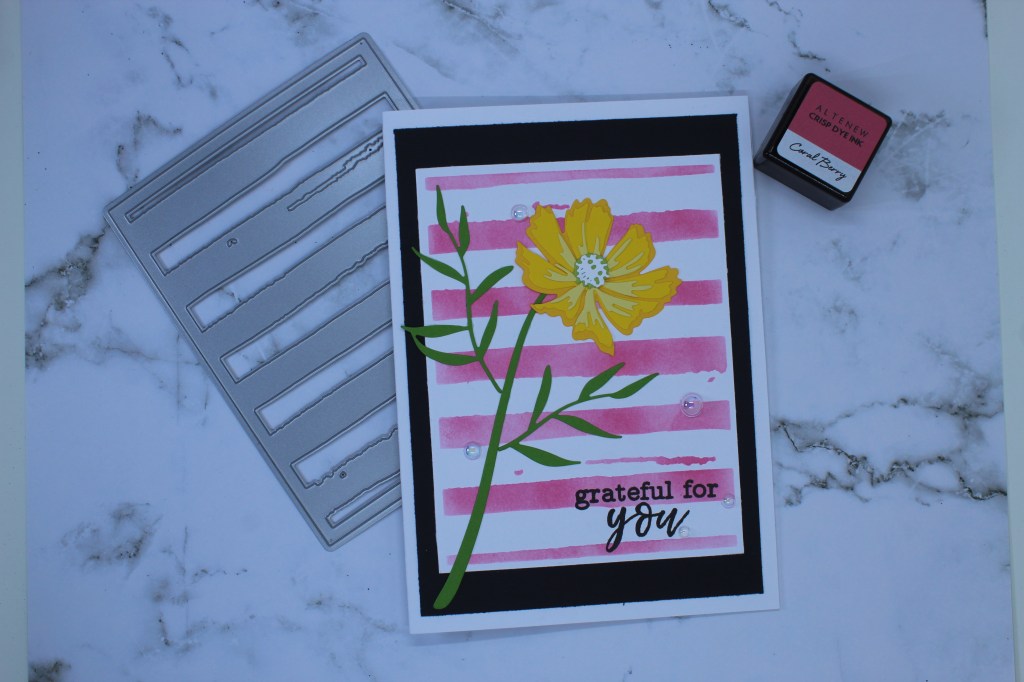
My first project features a stencil made from the Altenew, Watercolor die cut from Accent Opaque White 120 lb. cardstock. After cutting the die, I placed it on top of Neenah Classic Crest cardstock just as I would a stencil. Using a blending blush and Altenew Crisp Dye Ink in Coral Berry, I developed the striped background for my card. Next I stamped the Altenew, grateful for you sentiment from Story of Us collection on the bottom right corner in Altenew Crisp Dye Ink in Jet Black. I then die cut the flower, from Altenew’s Craft a Flower: Cosmos layering die set. The flower was made with three different yellow paper cardstock selections beginning with the base layer in a darker yellow and working my way out to the third layer which was lightest. I cut the center of the flower and the stem and leaves from the same green cardstock and then added a final center to the flower in white.
Arranging the pieces for placement only, I determined that I wanted the stem and at least one leaf to extend beyond the Watercolor stencil so I framed it on black cardstock and mounted it all on a 5 X 7 card made from Neenah Classic Crest. My final addition was Bubble Blow Out gems from Trinity Stamps.
The Watercolor die is one of my favorites. I’ve cut it from kraft cardstock, black cardstock and now used it as a stencil. Love getting that much value from a purchase!
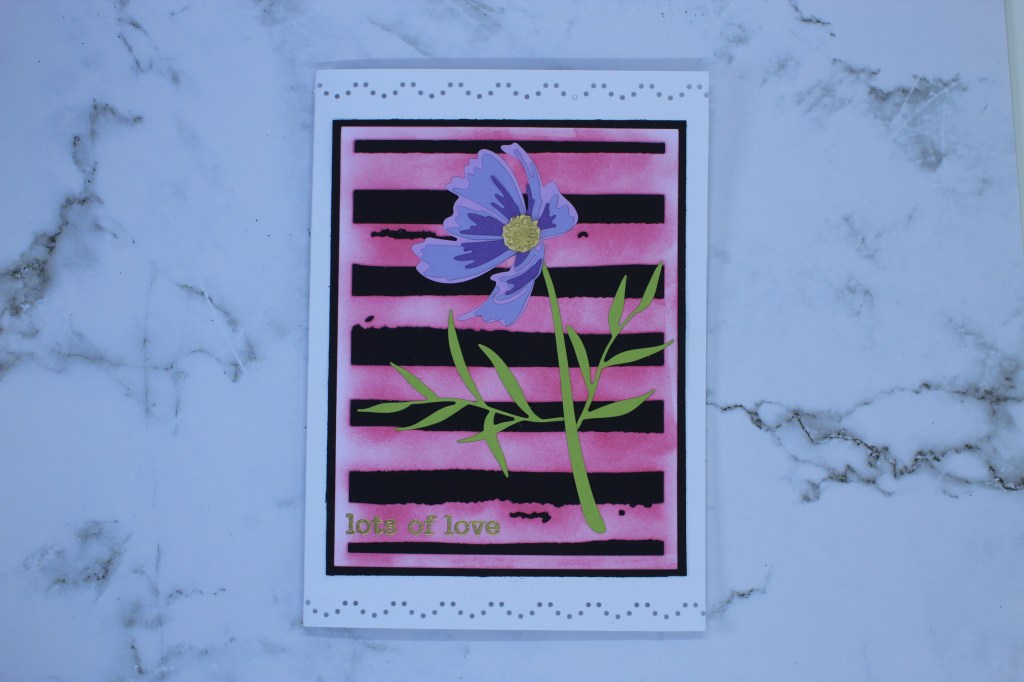
In the interest of frugality, I now had a leftover die that was also covered in ink. So, learning from the class, I used it to make a second card!
There are two flowers in the Craft-A-Flower: Cosmos layering die set and the difference in each flower really stood out to me as I cut the second one from three layers of purple cardstock. This time, I used the lightest color for the base and built darker as I moved outward in the flower development. Wanting contrast for the card image, I placed the die on black cardstock and began to place the flower image, stem and leaves over the die. On this card, I used a lighter green cardstock for the stem and leaves.
As a single flower, it almost looks like the wind is blowing it to the left and I just loved that image. Because I like a little bling, I decided to place gold over yellow for the center of the flower and heat embossed the lots of love sentiment (again from the Story of Us collection) on the bottom left corner using Princess Gold embossing powder by Ranger. Finally, for a little added whimsy I decided to use the Atlenew, Creative Edges: Scalloped Scallops Die Set for the flowing dots at the top and bottom of the card.
A closer look at the sentiment in bling!

Thanks for joining me once again on my journey toward certification in the Atlenew Program. As always, comments and critiques are appreciated!
Jan

These are lovely Jan! I will have to try making a stencil from a die…never have even thought of doing that! The dots on the top and bottom of the second card really do give it that “wind blown” look!
LikeLike
Thanks Carol! I learned the technique from the Altenew Education Certification Program. I thought it was a cool idea as well! Have a grea day!
LikeLike